
Sully’s Kitchen part 1

Sully’s Kitchen
Homemade Bread
Welcome to Sully’s kitchen, where I bring to you a recipe that our family loves, especially as the seasons shift into autumn! Today, I’ll be sharing with you how to make Butternut Squash and Pumpkin soup with homemade bread!
We start with the bread, as it will take the longest to prepare in an all-day method. I like to start making bread first thing in the morning after my breakfast and coffee. It takes only a few short minutes to prepare and walk away from as the first rise can take several hours to complete.
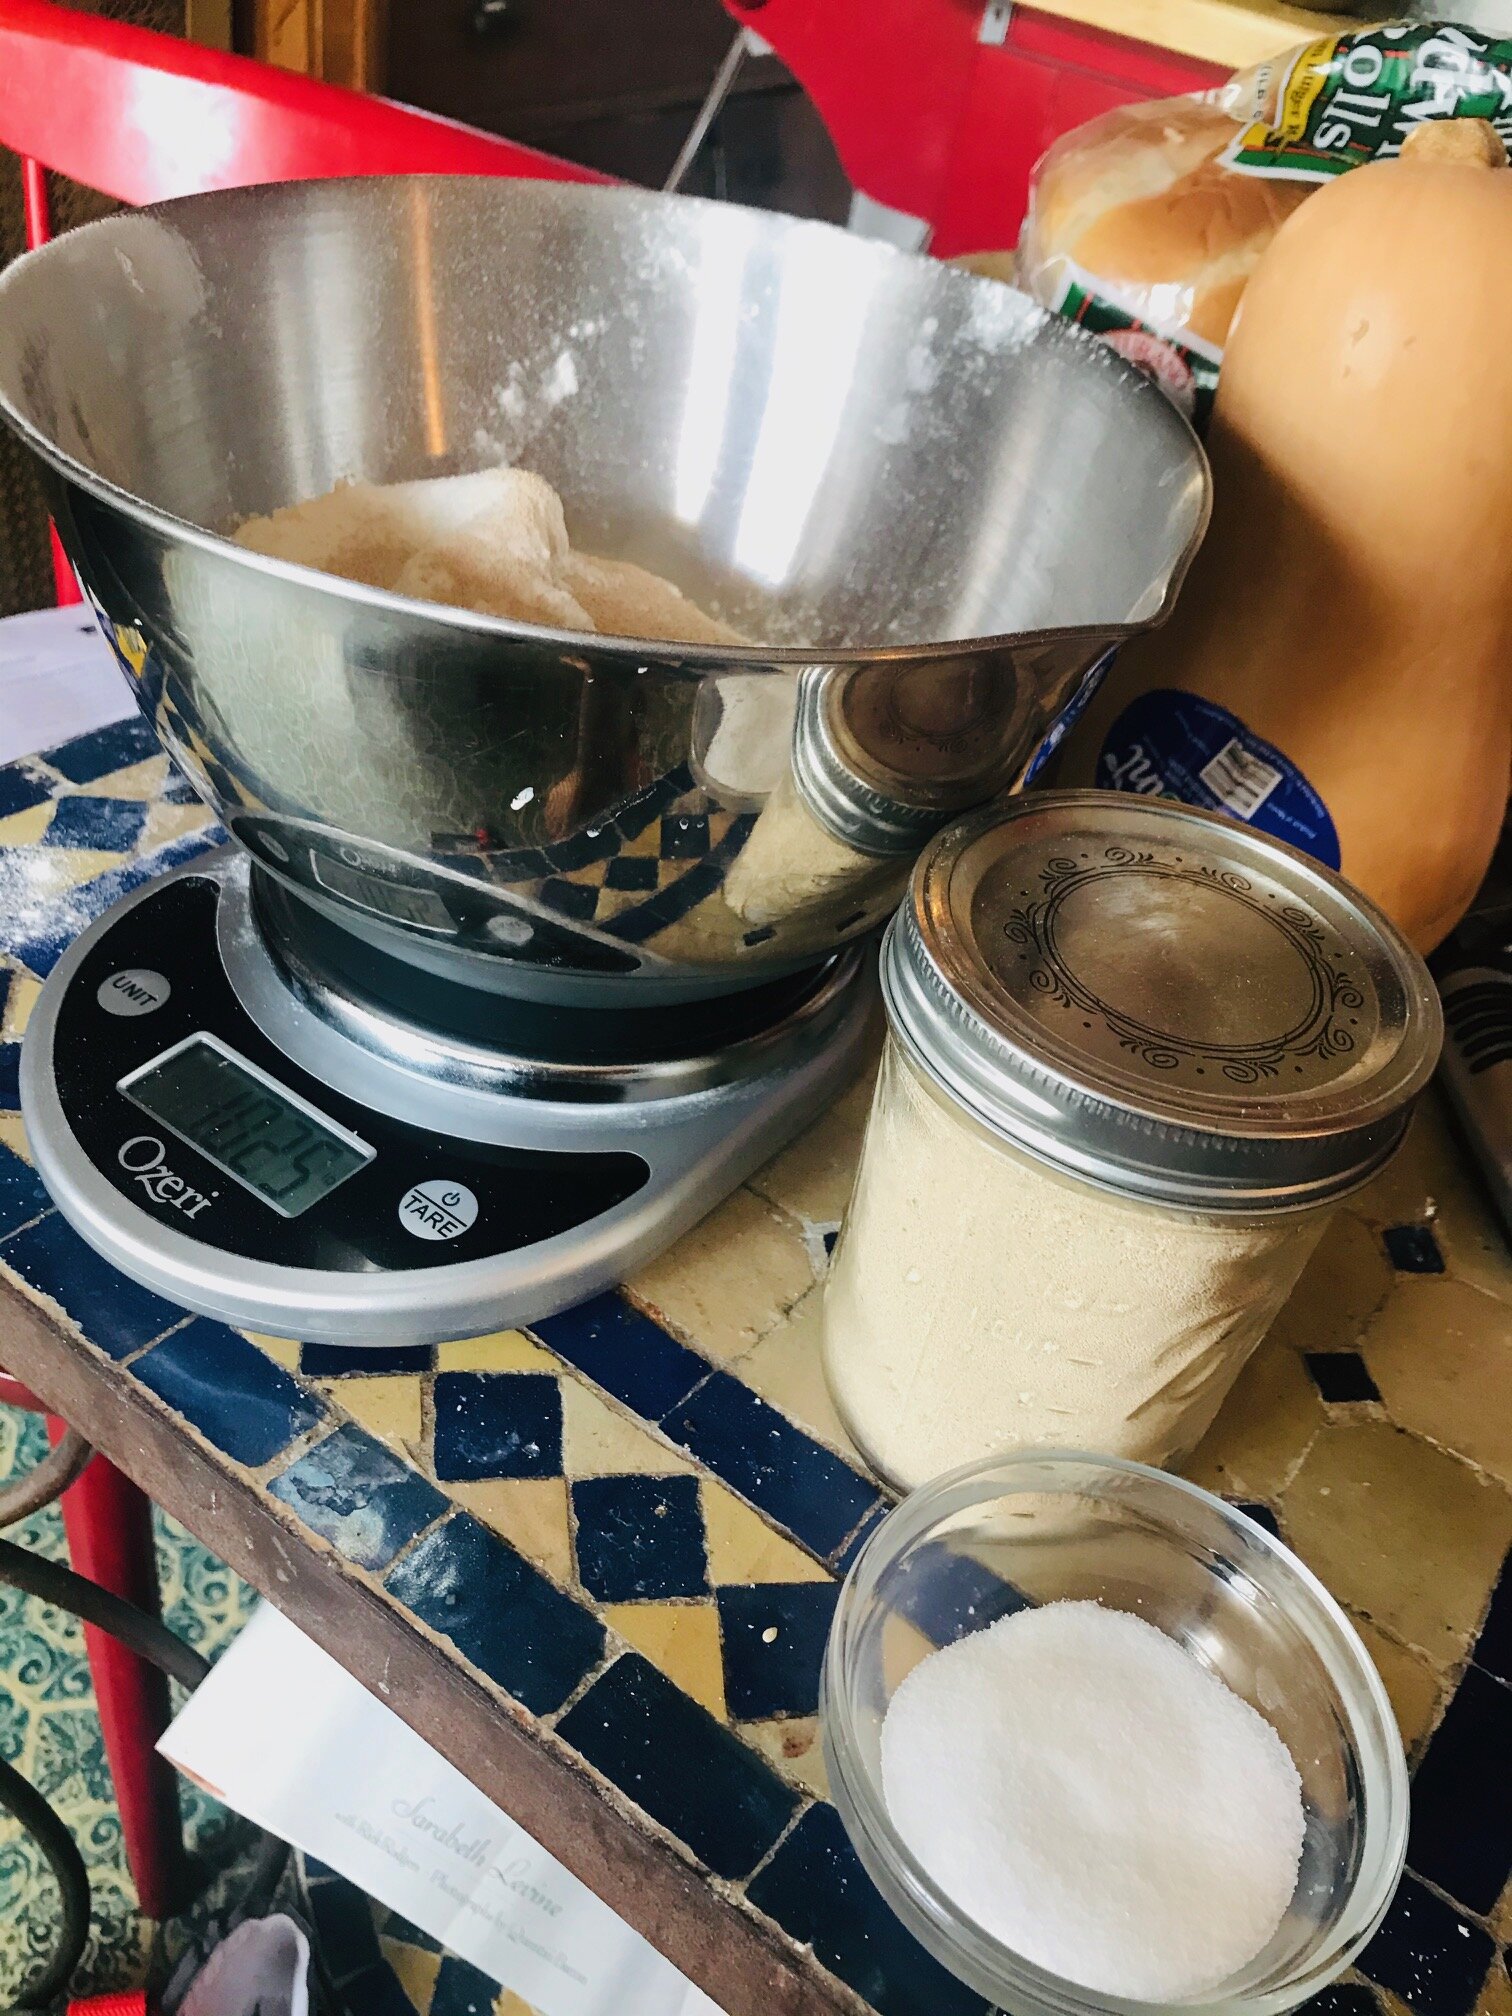
The ingredients you’ll need for this simple bread is:
1lbs of King Arthur bread flour
2 tsp of salt
1 ½ tsp of activated yeast
And a scant 1 ½ cup of warm water (Right around 90 degrees F)
You’ll also need some cooking oil and cornmeal when it comes time for the bake to ensure that your bread will not stick to the pan. If you don’t have cornmeal you can also use more flour.

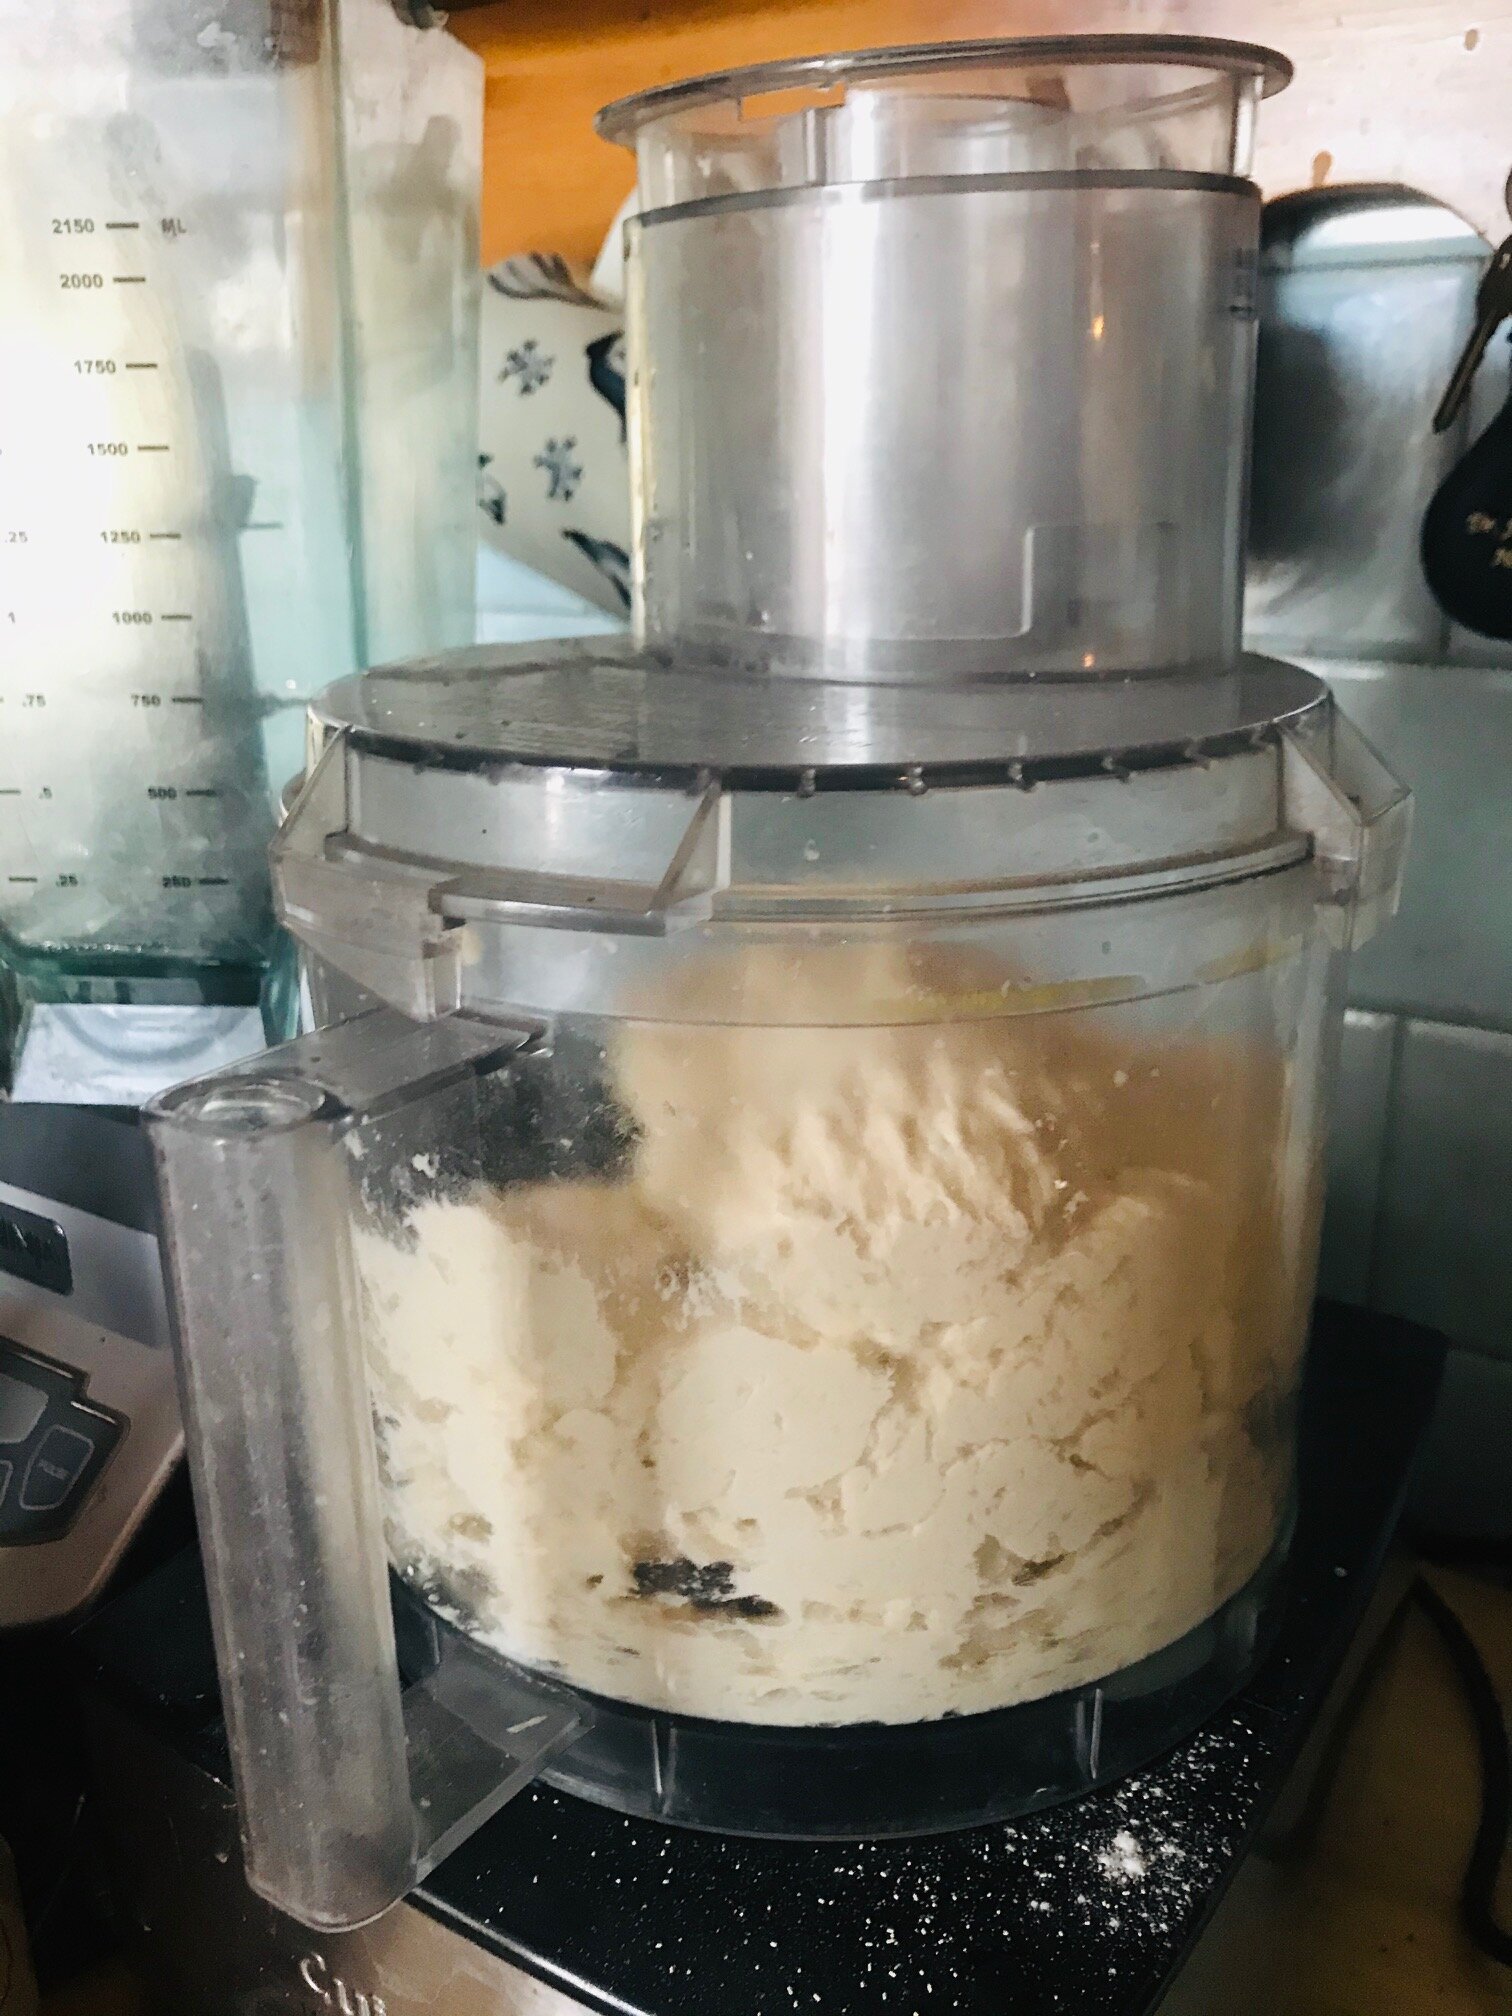

Take all your dry ingredients and put them in a food processor. Now you may be thinking: Why a food processor over a stand mixer with a bread hook? Well, in our house we find that the food processor does a much better job in kneading the ingredients more efficiently. Where a stand mixer might take up to 10 minutes to knead to the consistency desired, a food processor takes 30 seconds. We also use the same blades for a standard food processor to have, but if you would prefer to use the plastic ones for your dough as the manufacturer suggests, that is your preference.
Just pulsing your food processor for five seconds is enough to blend your dry ingredients.
Once you have your water in the correct temperature range, turn on the food processor and pour the entire amount of water in. Once all the water has been poured, count to 30 seconds and turn off the food processor. You’re looking for a loose shag consistency that is pretty sticky to the touch. If your dough is still a little too wet, just add a large pinch of flour and mix again until combined. If you add too much flour, you can add a few more drops of water, but it's best not to repeat this back and forth because the ratios of your ingredients will be off and it will be harder and harder to correct.
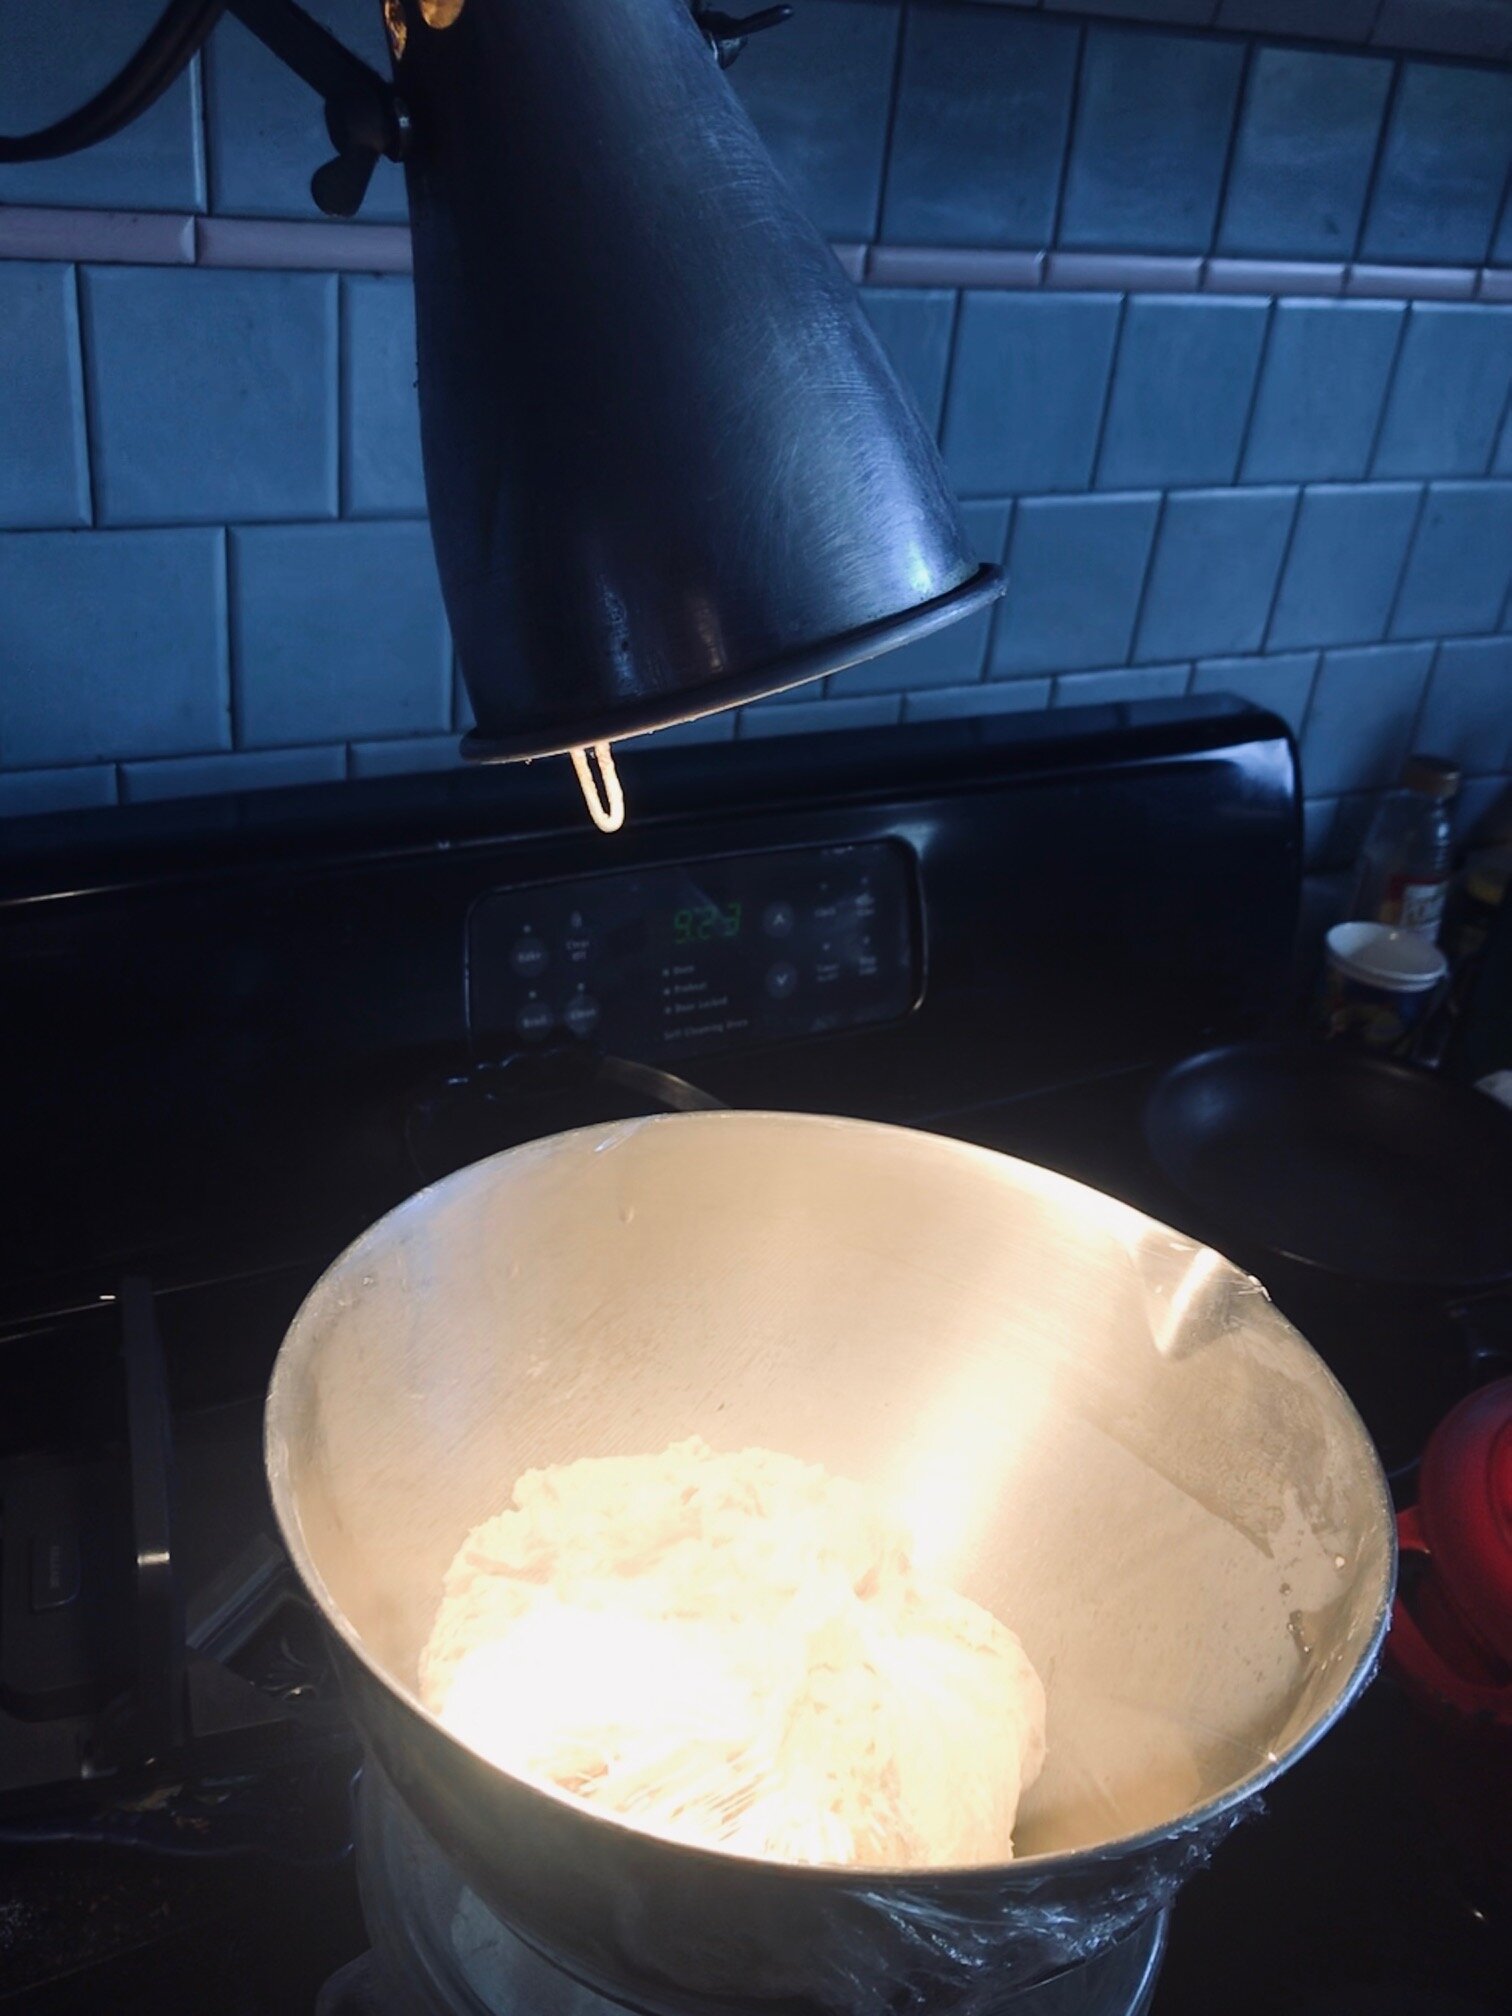
Once you achieve this consistency, dump your dough into a clean bowl and cover with plastic wrap. You will leave this dough until it has doubled in size, which takes a few hours to achieve, depending on the conditions of your kitchen, such as dry air, humid air, and general temperature. We also place our covered dough underneath an incandescent light bulb to aid the rise with the heat and condensation it creates within the bowl, so your plastic wrap should be on tightly.
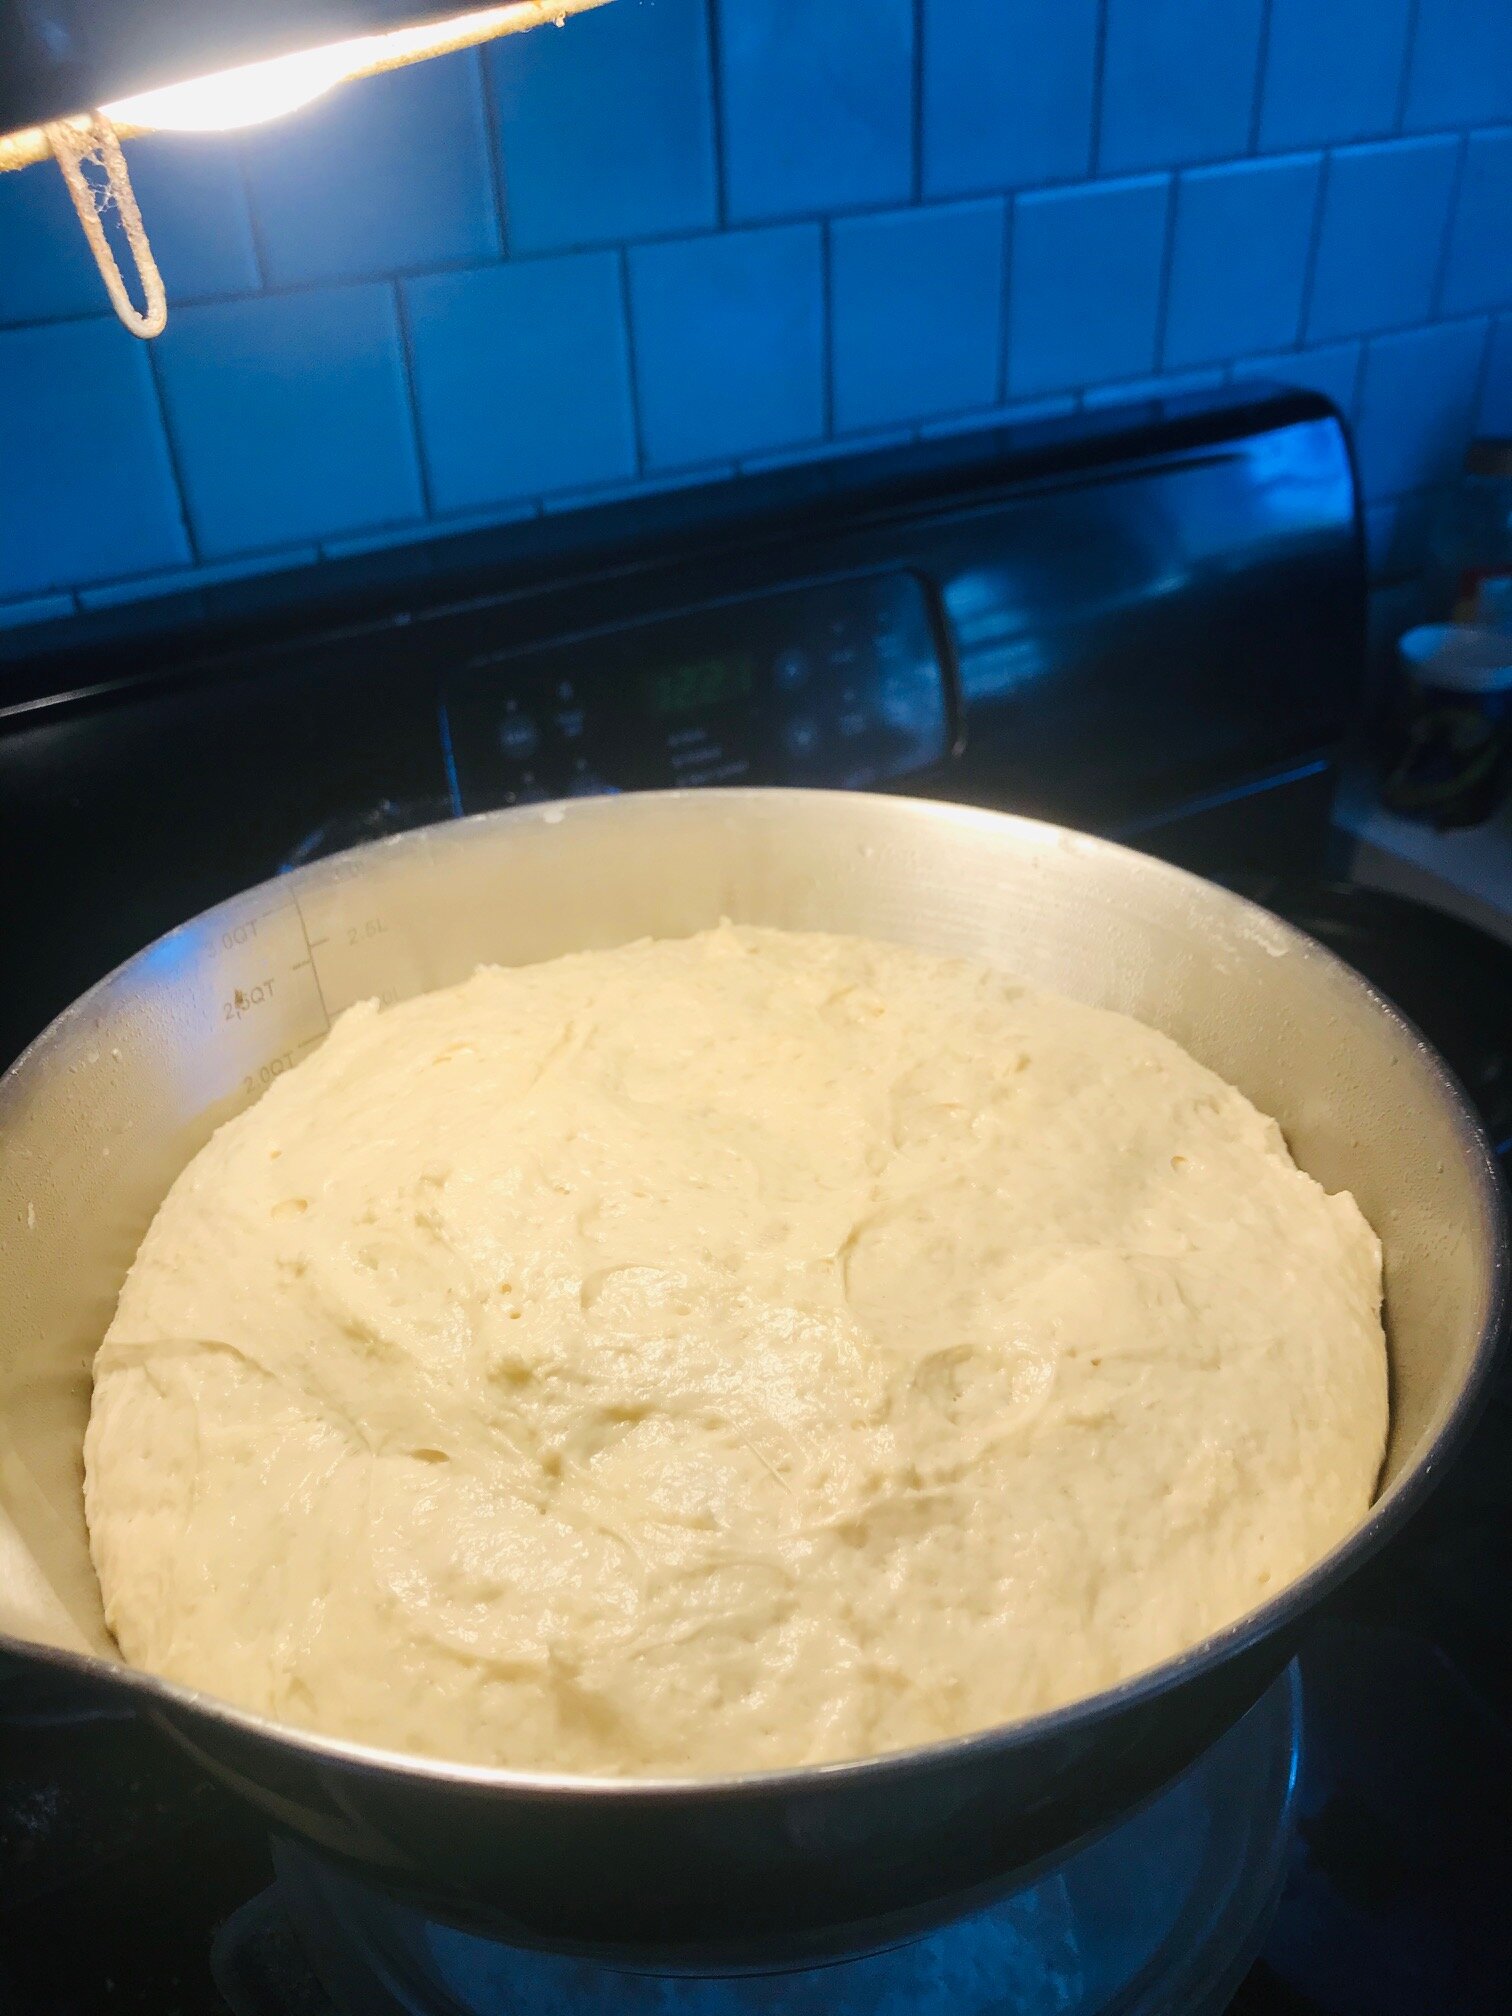
After about 3 ½ hours later our bread doubled in size and is ready to be knocked down for a second rise in our cooking container of choice. The second rise may take the same amount of time or shorter, just keep your eye on it.
You can bake your bread in a variety of containers. In the Sullivan house, we usually go for a deep cast iron dutch oven with a lid, an enamel dutch oven, or any loaf pan. Having a lid to cover your bread is important for the bake, so that the inside can properly cook all the way through without burning the top of the loaf. If you don't have a proper lid, aluminium foil works in a pinch.
Take your pot and coat the bottom and all sides with oil. Olive oil provides a great flavor, but grapeseed oil has a higher burn temperature, so that’s the oil we used today. After the inside is oiled, layer the atop the oil with cornmeal, shaking it around until the surface of the pot is nice and coated and sticking to all sides thanks to the oil. These two are essential for your bread not sticking to your pot.
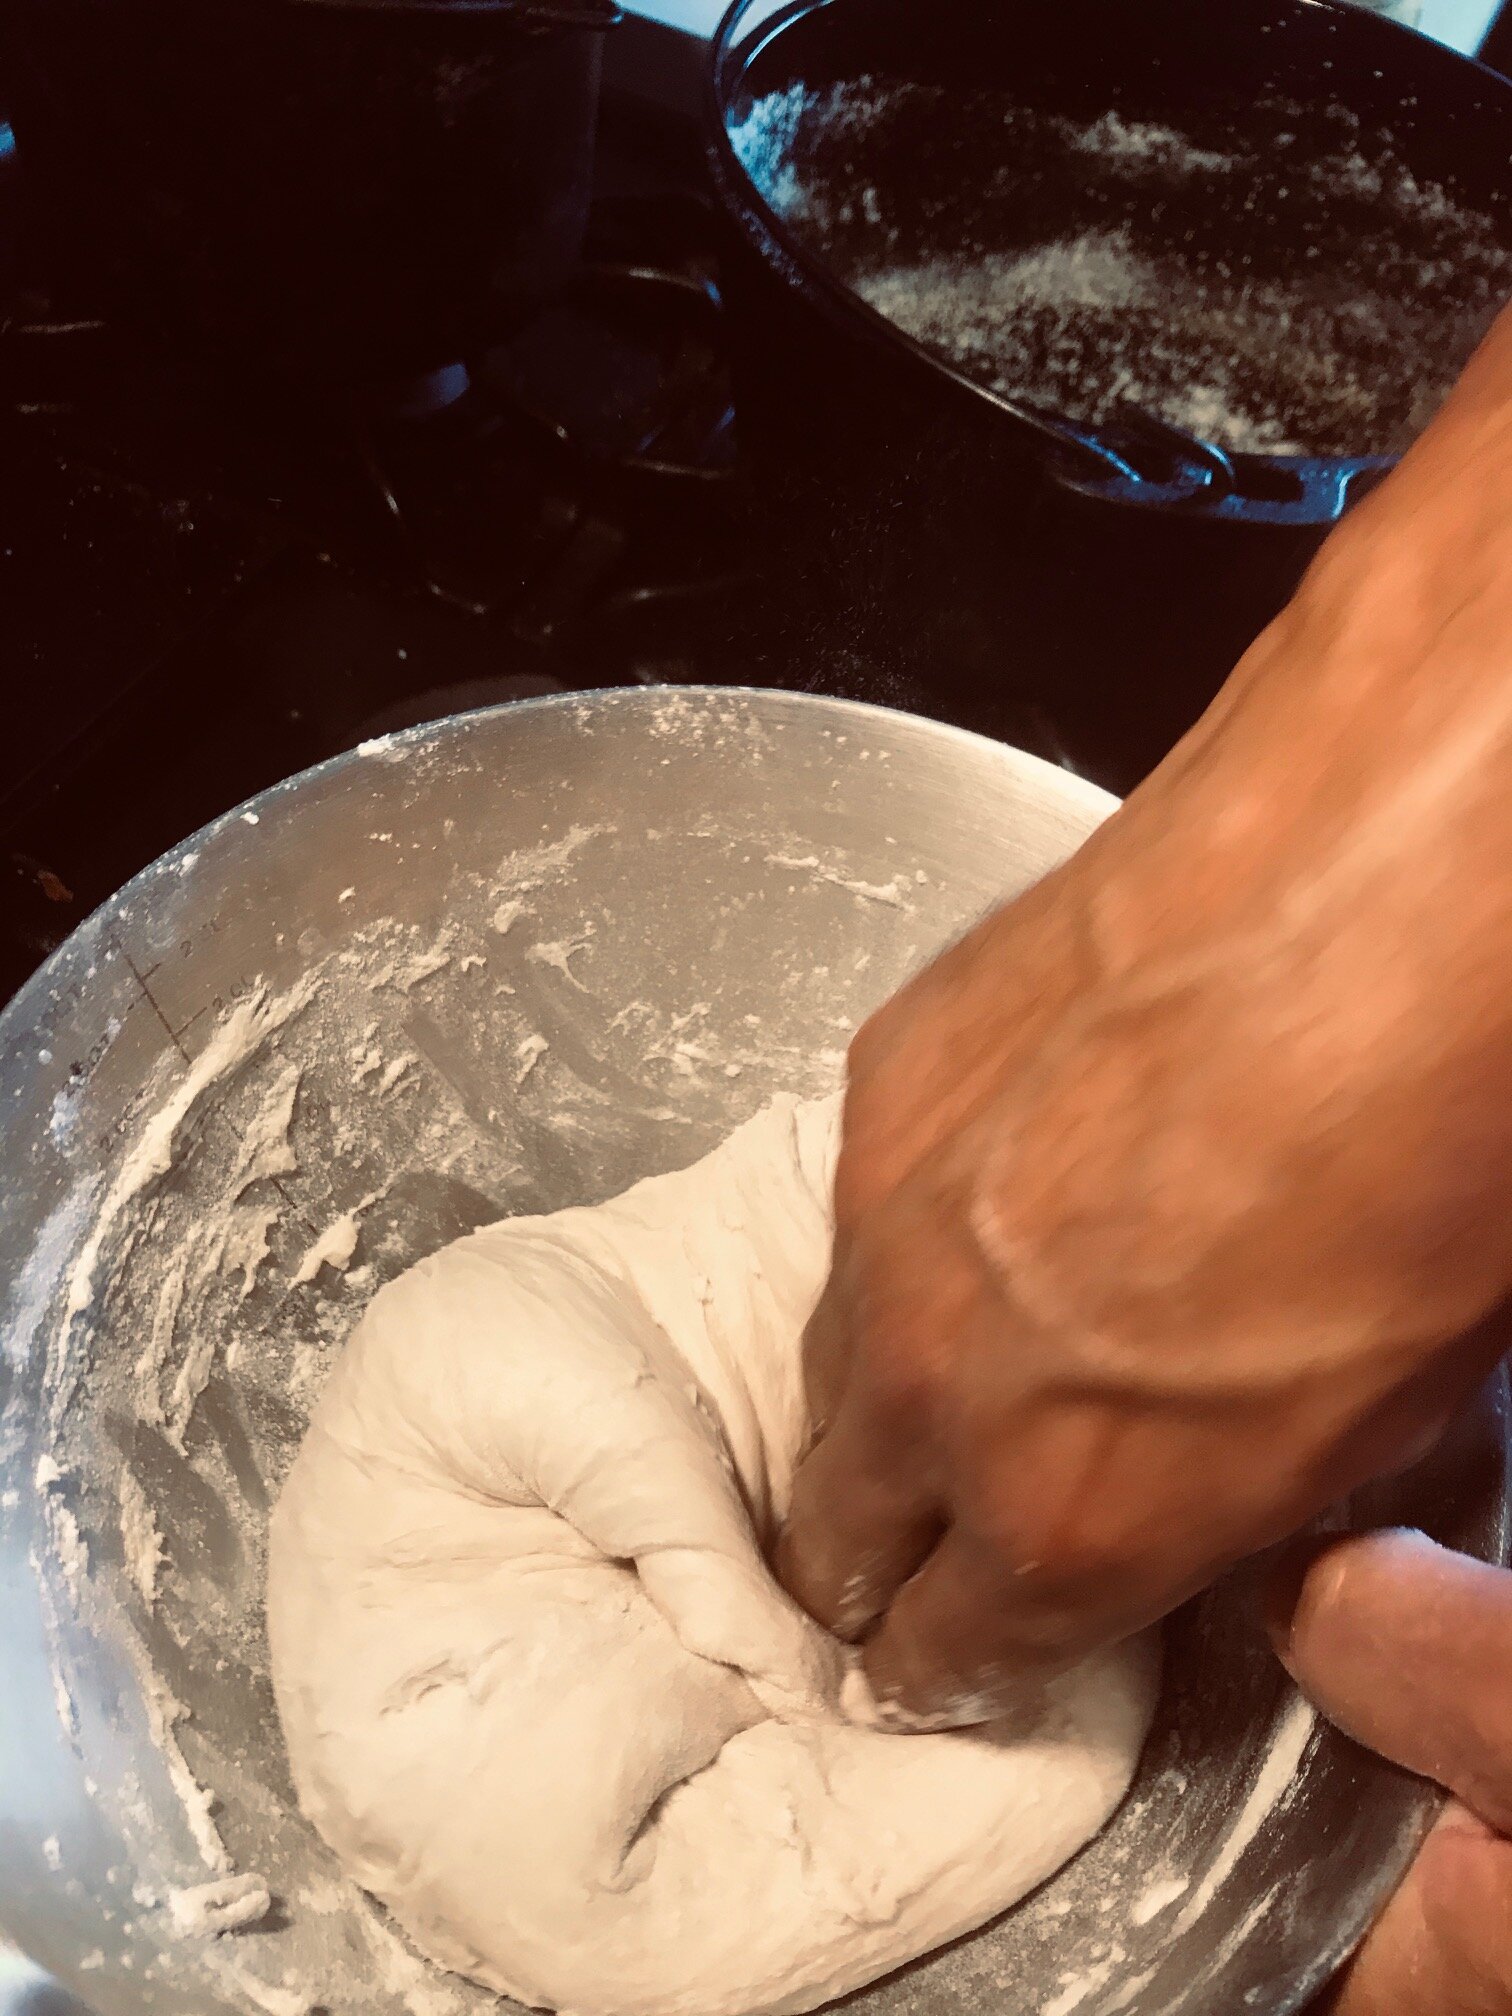
For knocking down your dough, poke down the center a few times so that all the air and gases can escape. Now in short turns, take the sides of the dough and fold it into the center all the way around 9 times.
Take your dough out of the bowl and turn it so the top side is smooth and your tucking is concealed at the bottom, and drop your dough into the coated cast iron. The second rise takes place in your pot so that you don’t have to move your dough again, potentially knocking down all your precious air bubbles you’ve patiently waited for. Cover the cast iron pot in cling wrap once more and step away until the bread has doubled in size again. If your bread reaches and sticks to your plastic cling wrap, be careful peeling it away! Again, this could easily deflate your loaf. To avoid this lightly oil your cling wrap on the underside to keep the bread from sticking.
15-20 minutes before you start baking, preheat your oven to 450 degrees F, depending on how long it takes for your oven.
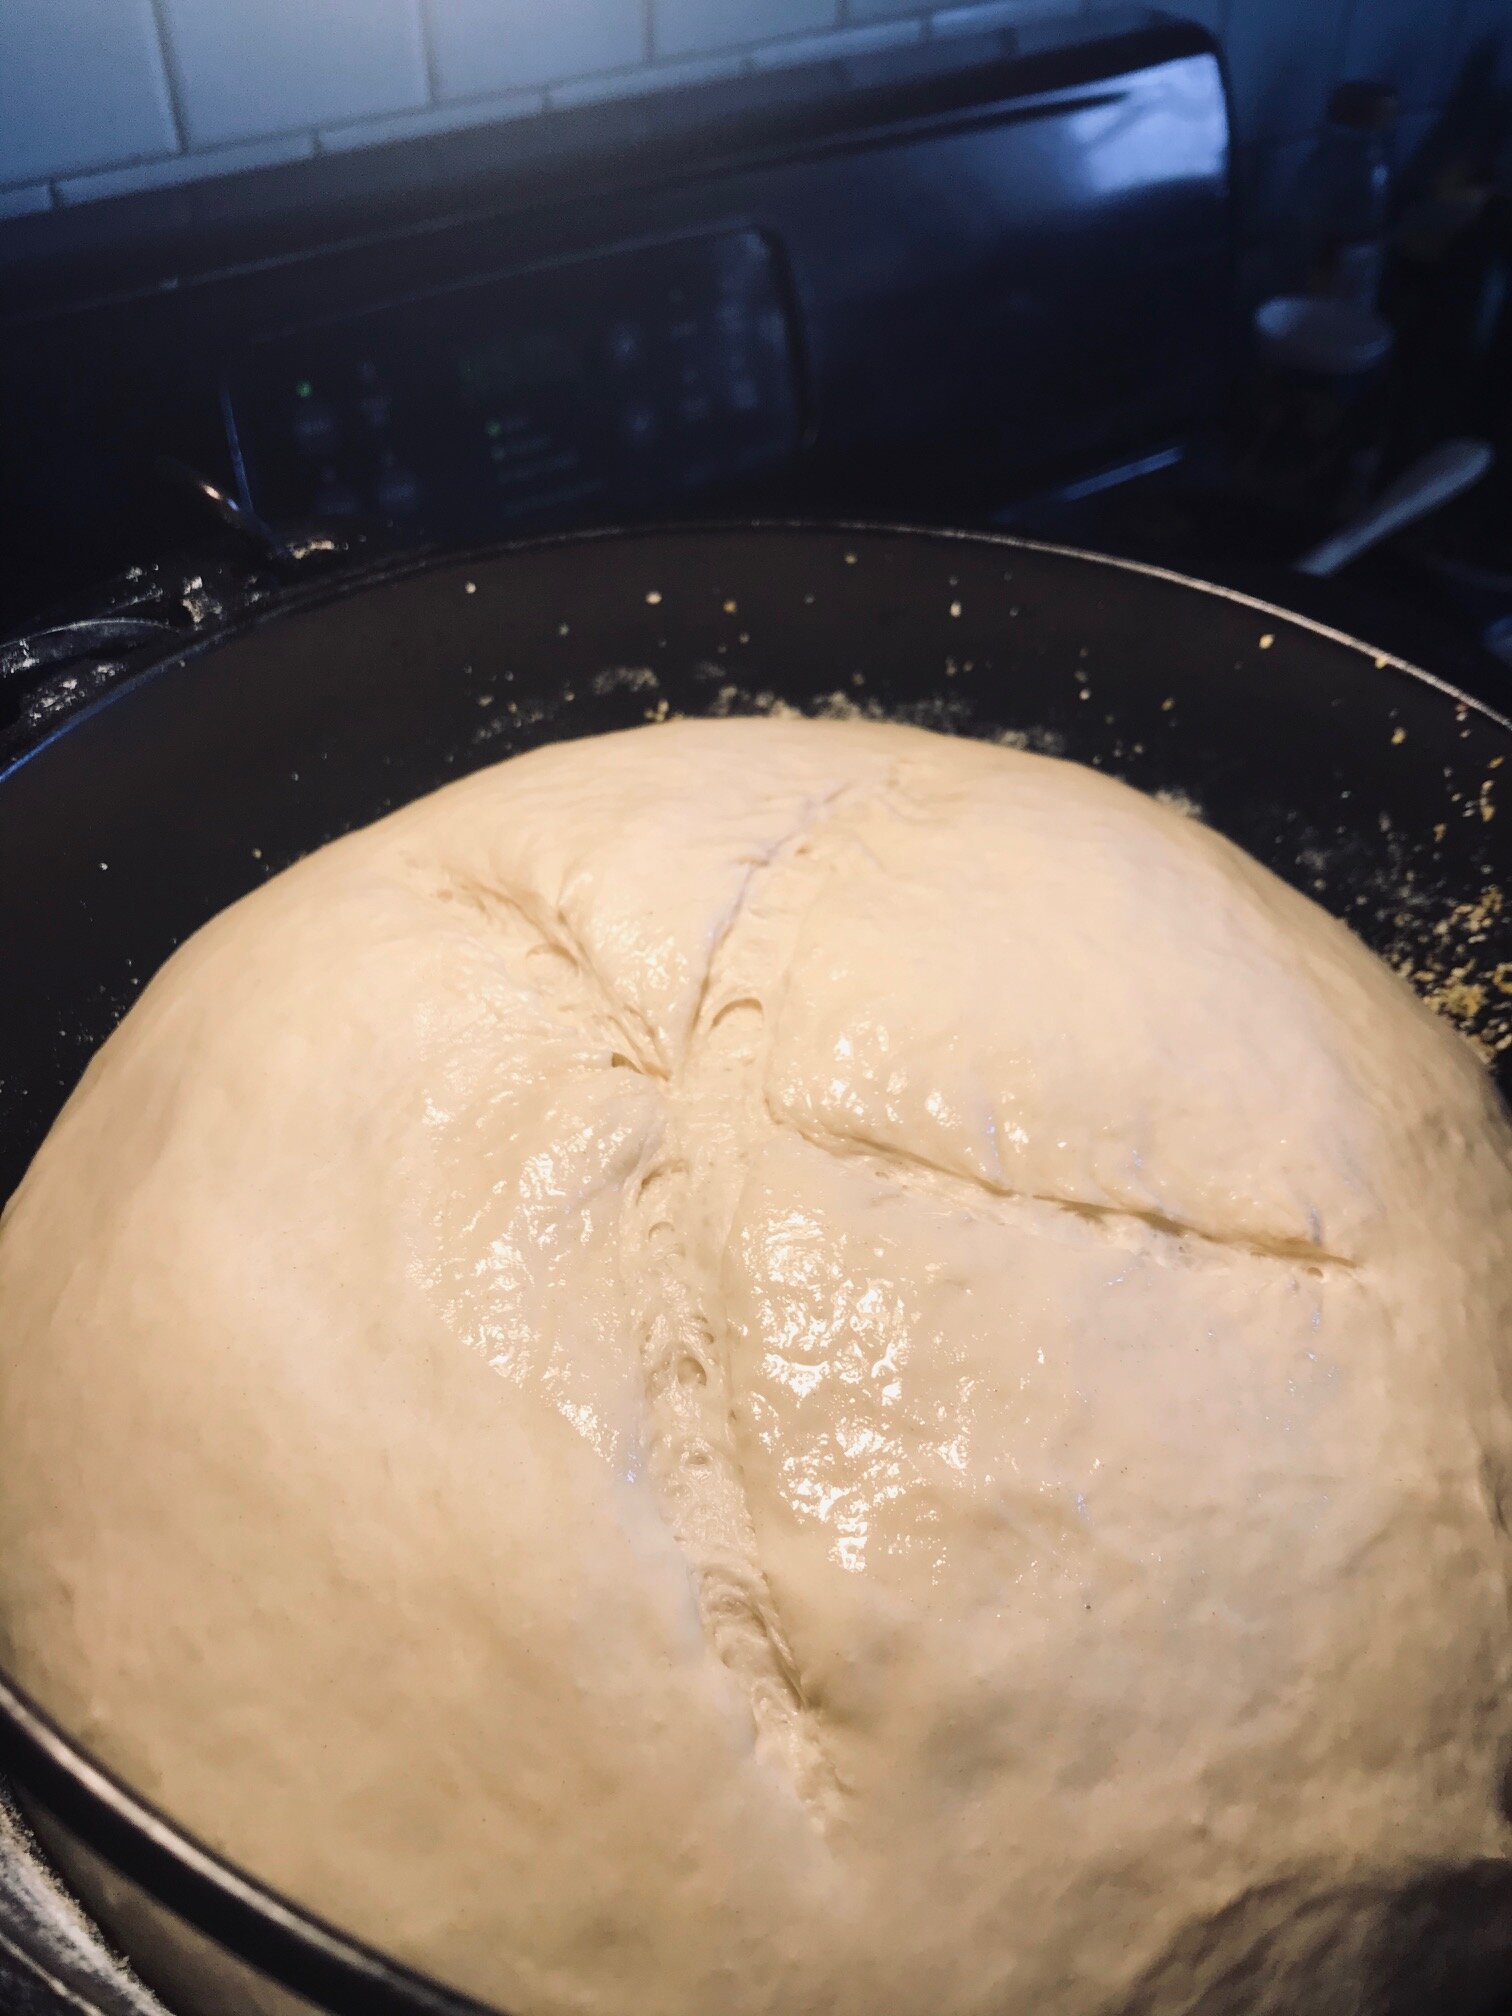
10 mins before you put it in the oven take a razor blade (or sharp knife) and score the top in a pattern of your choice. This opens up the loaf and allows the bread to expand, making airier bread, as well as looking decorative. A little more flour and a generous pinch or two of salt on top is also highly recommended for that beautiful artisan loaf aesthetic. This blade must be sharp or else the surface of your bread will drag and you risk deflating your bread!
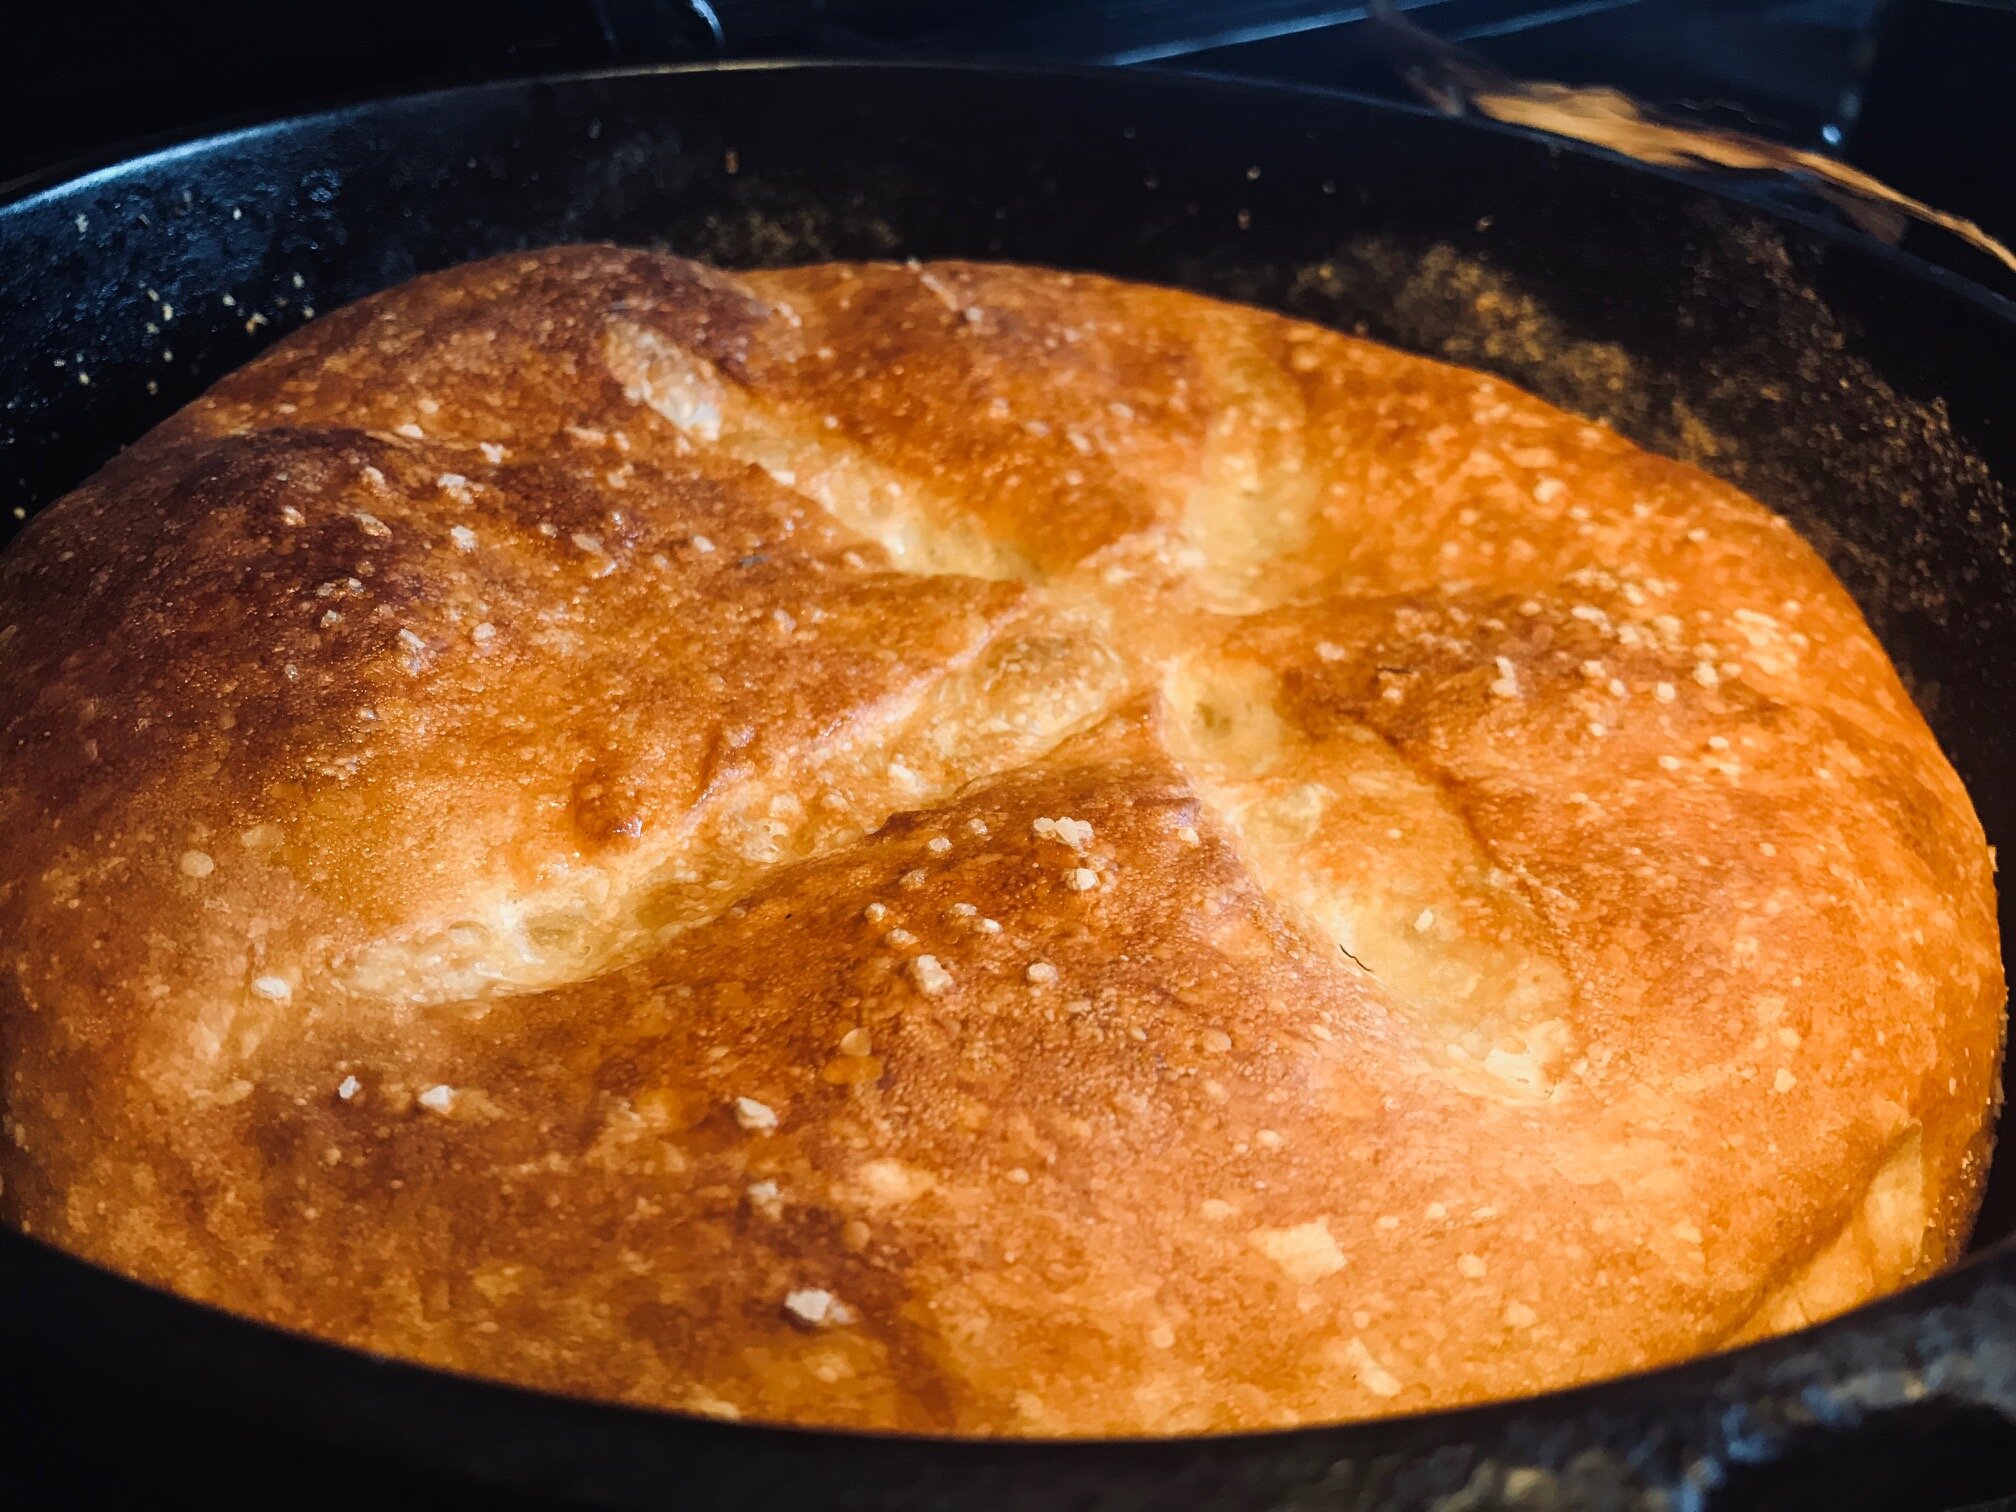
Your bread will take 30-40 minutes in the oven in total, but for the first 15 minutes your bread will need to be covered. After 15 minutes have passed uncover your bread to allow for the surface to brown. Remember: don’t be afraid of a dark crust! If you think the bread is done, wait 5 minutes longer, as once you pull your bread out and allow it to cool, the whole thing will begin to soften. Once you’ve reached your desired deep brownage of the crust, tap or knock on the surface of your loaf, if you hear a hollow sound, your bread is done and ready to cool.
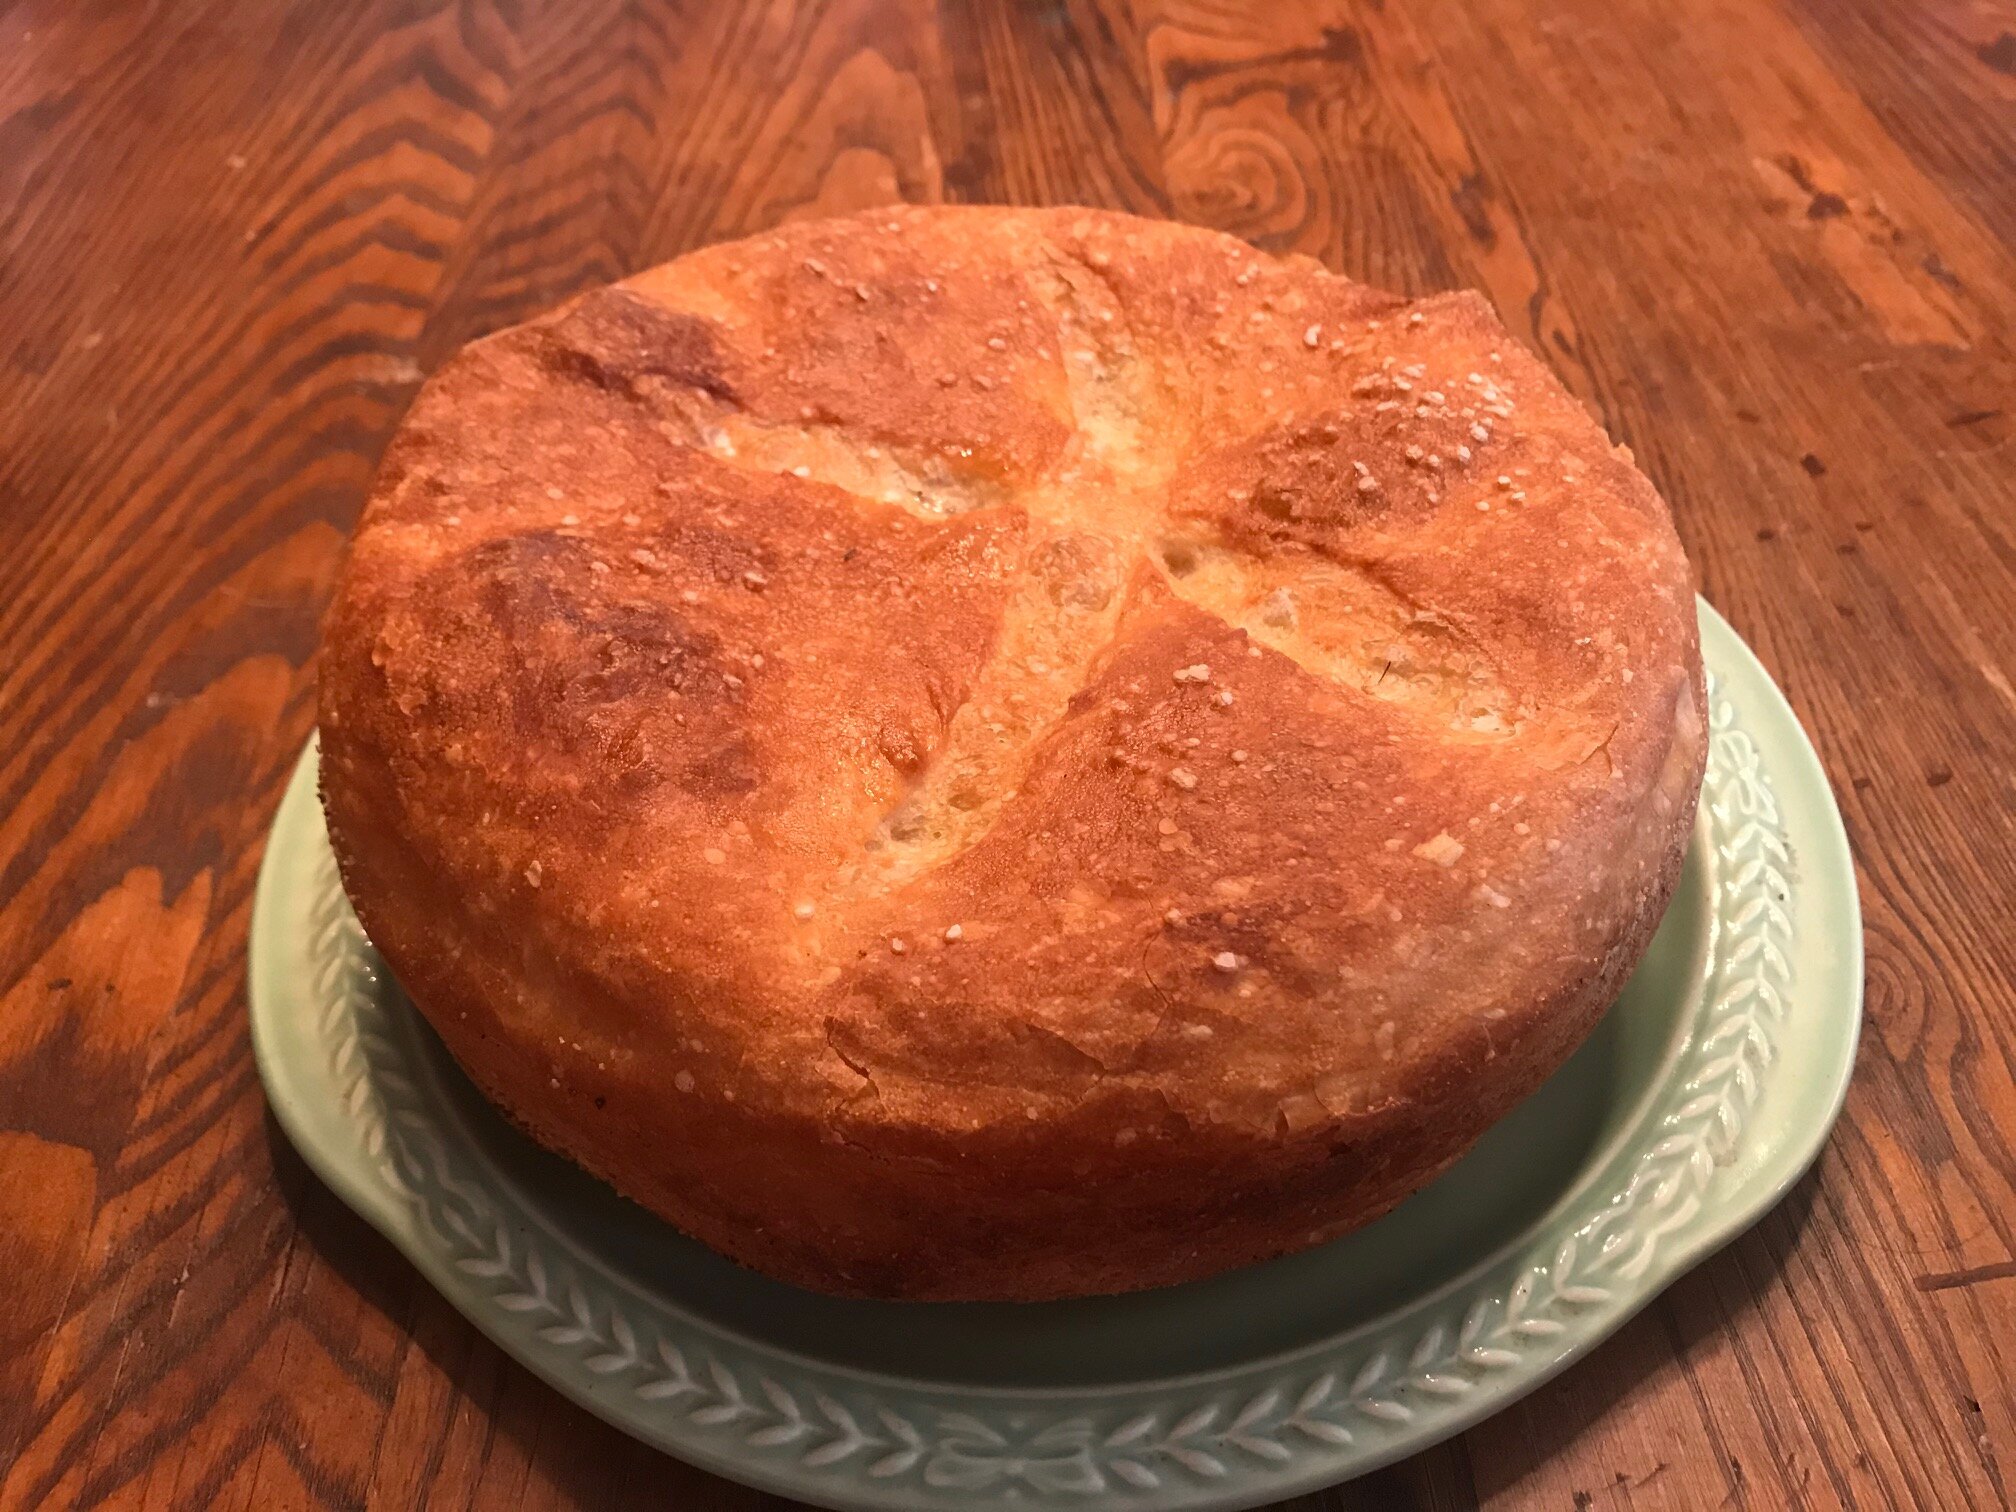
After a few minutes (or as long as you can further stand to wait) slice into your homemade fresh bread! With the salty top and flaky crust, I like to top my slice of bread with butter and honey.
